
She also asked me if I would do more of a step by step and as baby slept really really well when I was making them, I had some more time to take photos as I went. Hope it makes sense!
Step 1 - I wanted the cards to be bright and cheerful and as I don't have enough Copic Markers to colour the balloon animals as I would like, I chose to ink them onto some Lawn Fawn Let's Polka papers using Memento Tuxedo Black. It's a technique that Lucy Abrams uses with great effect.

Step 2 - I then took the matching dies and placed them round the stamped images and secured them with some Washi tape.

Step 3 - I die cut them out two at a time - I find I don't get enough pressure sometimes with smaller dies if I do too many at once, especially as the die cutting machine cuts best on the top left hand corner!

Step 4 - Once the pieces were die cut out, I trimmed some white card to a size slightly smaller than the pre-cut cards I use. I like 9x13cm, as the cards are 10.5x14.75cm in size.

Step 5 - I like the corners rounded sometimes, so as I don't have a corner rounder, I use the one on the WRMK Envelope Punch board! Works just fine for me at the moment :)

Step 6 - I wanted some nice paper as a background, so I chose some coordinating papers from the Lawn Fawn Let's Polka Mon Amie collection. I trimmed it to fit the front of my card blank, as it's a 6x6" pad.
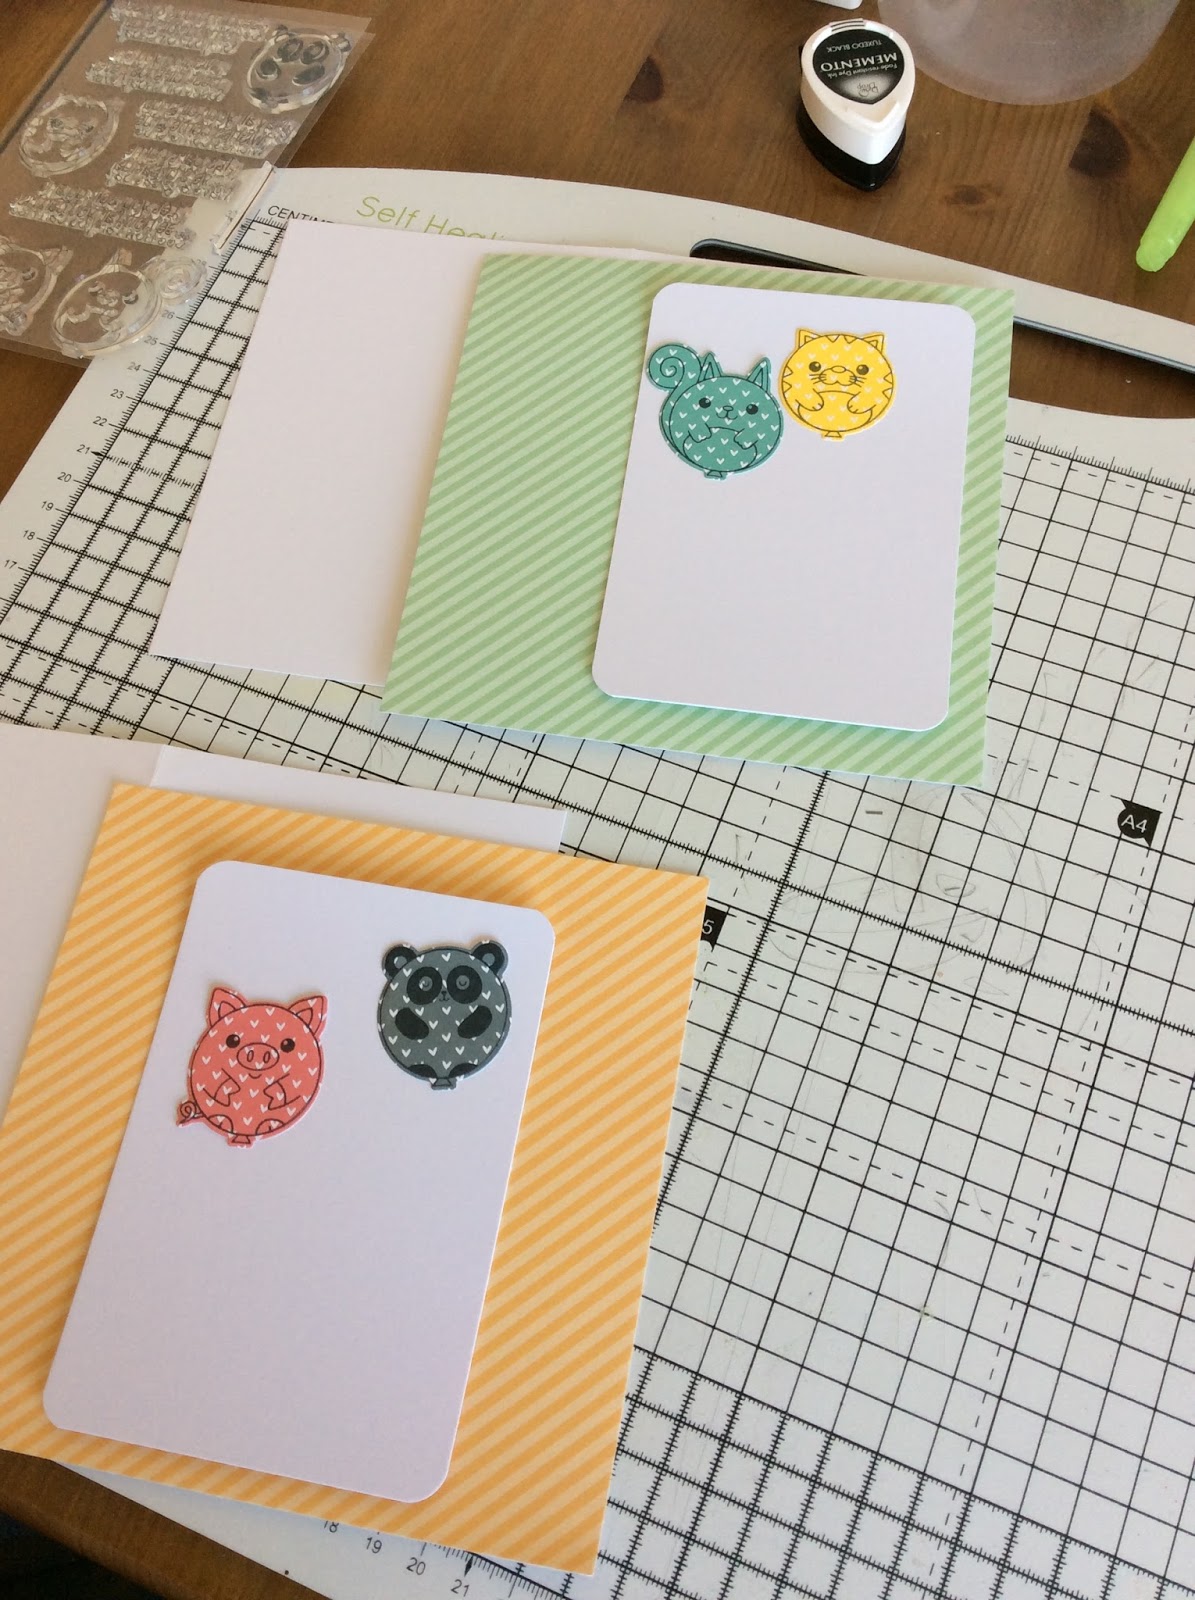
Step 7 - I then used some double sided tape to stick it down on the card front. I would love an ATG tape dispenser, but that will be in November's Simon Says Stamp purchase!

Step 8 - There are some balloon strings in the stamp set, so I positioned the balloons and stamped the strings underneath, then with some more double sided tape stuck the balloons on top.

Step 9 - I wanted to add their names, so stamped them on the front underneath in some little letters I got in Hobbycraft.

Step 10 - I didn't want the sentiment on the outside as it would be too cluttered, so I stamped them on the inside.

Step 11 - I wanted a little bit of dimension, but it needed to be firm as it's going in the post to Europe, so I used some fun foam on the back of the panel. It's such a genius idea thanks Jennifer McGuire! Love how you can see my knees in this photo! It's so professional ;)

Step 12 - Done!

A better picture of the cards. Decided not to colour the words, as I liked the clean look.

Supplies: CB Best Birthday Stamps and Best Birthday Dies; Lawn Fawn Let's Polka and Let's Polka Mon Amie 6x6 paper pad; Memento Tuxedo Black Dye Ink Pad; Hobbycraft Outline Alphabet
Well done on getting to the bottom of this post. Hope you found it helpful/interesting, and as always, have a great weekend!
7 comments:
My dies arrived this morning so i am ready to get ballooning! Lovely to see how you created these fun cards (and the foam tip is brilliant) - i can see me using these for adults too. Hugs xx
Really cute cards Ruth :) Love that little set shame i didn't get it lol ...maybe next time ;)
Kate xx
Finally I am back from California [with no internet for 5 days!]. I miss seeing the cards and being able to comment! How fun are these balloons -- great personalized cards and an awesome tutorial!!
Beautiful sweetie I love that you have done them in patterned paper makes them even cuter, hugs Pops x
Such a great way to do paper piercing! By the way, last time I was in UK I updated my paper trimmer to the same as yours, I'm so loving it!
Oh, these are so cute!
Added to Feedly so I can keep up with you. Wow you have been busy, love all the photos of the steps. Brilliant critter balloons.
Post a Comment